This blog post explains a way to set compressor attack time. Tell me the best way to do this? Is there any guide available for compression attacks and releases?
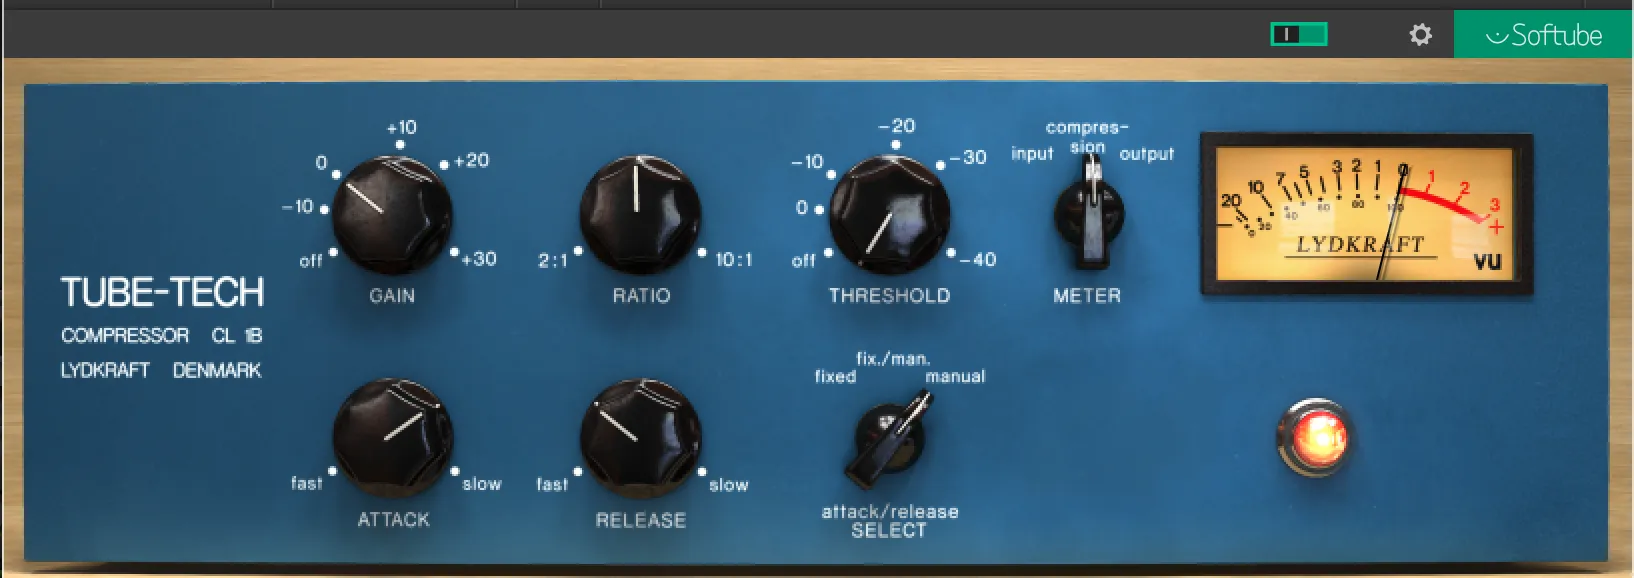
One of the most important tools in a music producer's toolbox is the compressor. Compressors help shape and control the dynamics of audio signals, allowing you to achieve punchy, tight mixes. A compressor works by reducing the volume of parts of the signal that go over a set threshold. Two crucial controls on any compressor are the attack and release settings. These two parameters have a huge impact on how aggressively and transparently the compressor acts.
In this post, we'll break down what attack and release times are on a compressor. You'll learn how to listen for attack and release, and get tips for setting these controls for different sources like vocals, drums, guitars, and more. The goal is to help you gain an intuitive understanding of how attack and release settings affect your sound so you can dial in compression with confidence. With the right attack and release dialled in, you'll achieve smooth, musical compression that brings out the best in your mixes!
What Is Attack & Release In Compression?
Attack and release settings are the controls that will be what shapes your sound. These are two of the most important setting you will need to understand to optimize your mixes.
Attack
Attack is the time it takes the signal to start to be compressed after it reaches the compression threshold. With a quick attack time, the compressor will compress your signal rapidly. If you have a slow attack time, more of the transient will be let through before being compressed.
Release
Release is the time it takes for your signal to stop reducing the gain after the signal drops back below the threshold. With a short release time, the signal will be brought back out of the compression quickly. With a long release time, the compression with be sustained longer.
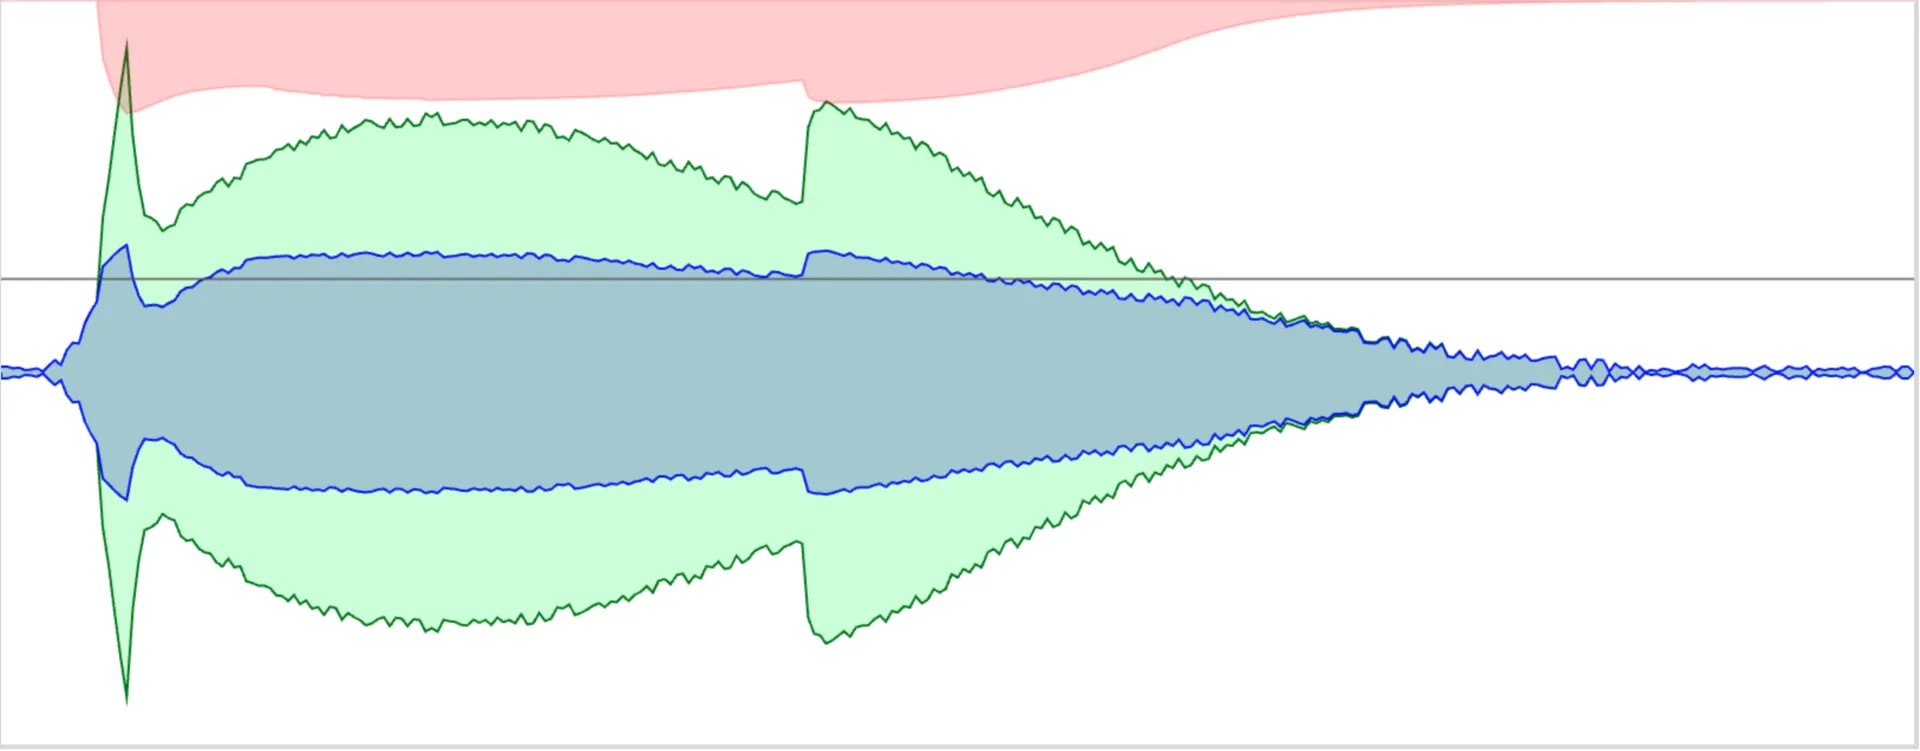
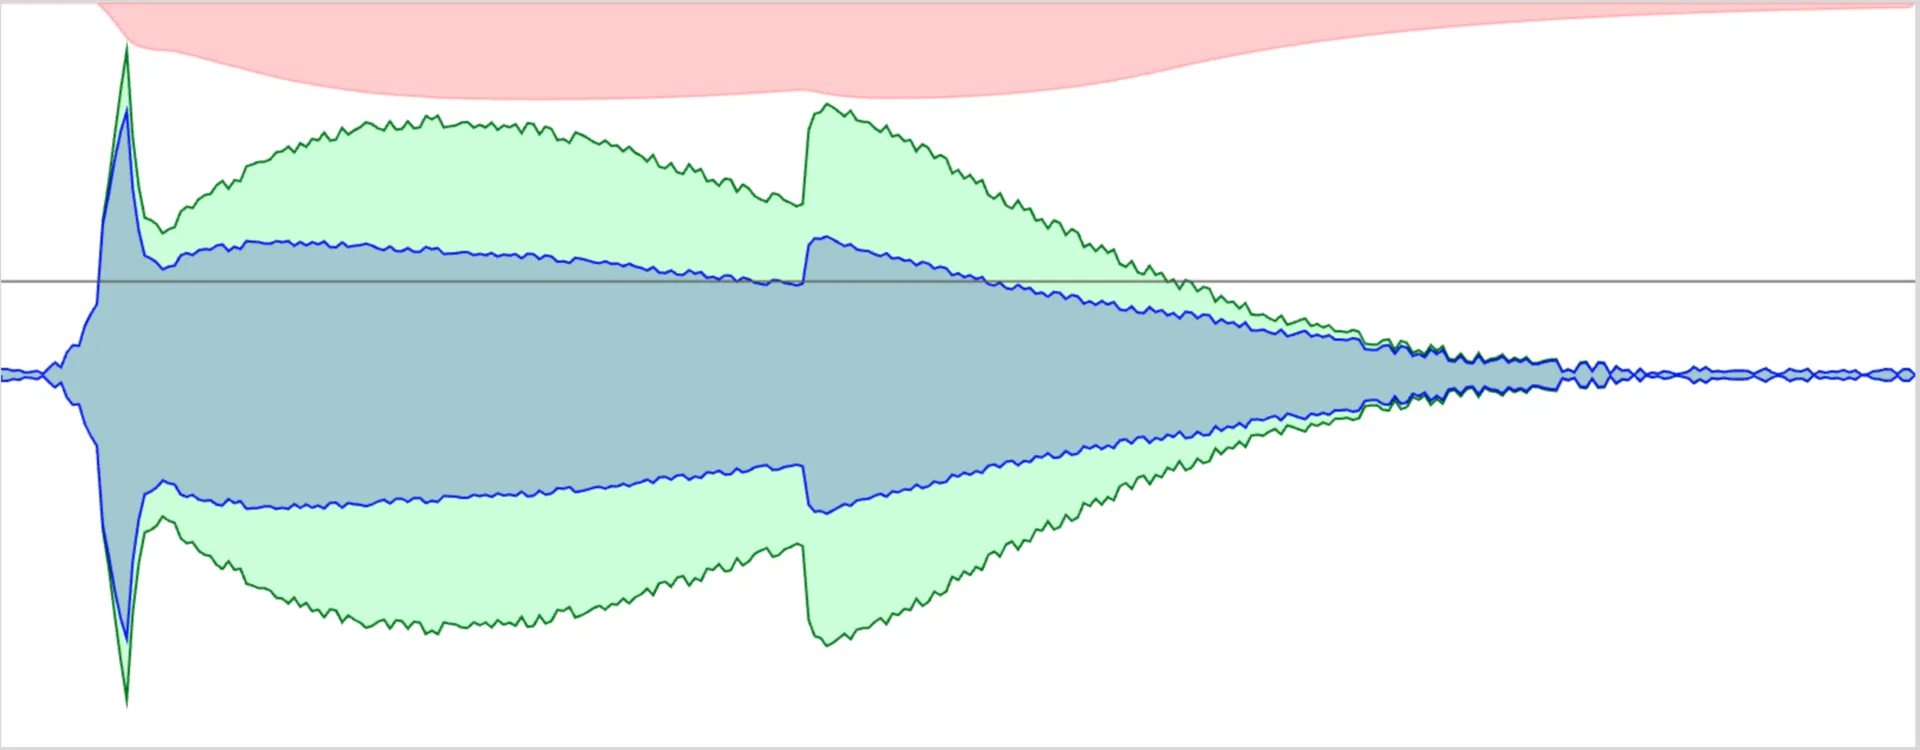
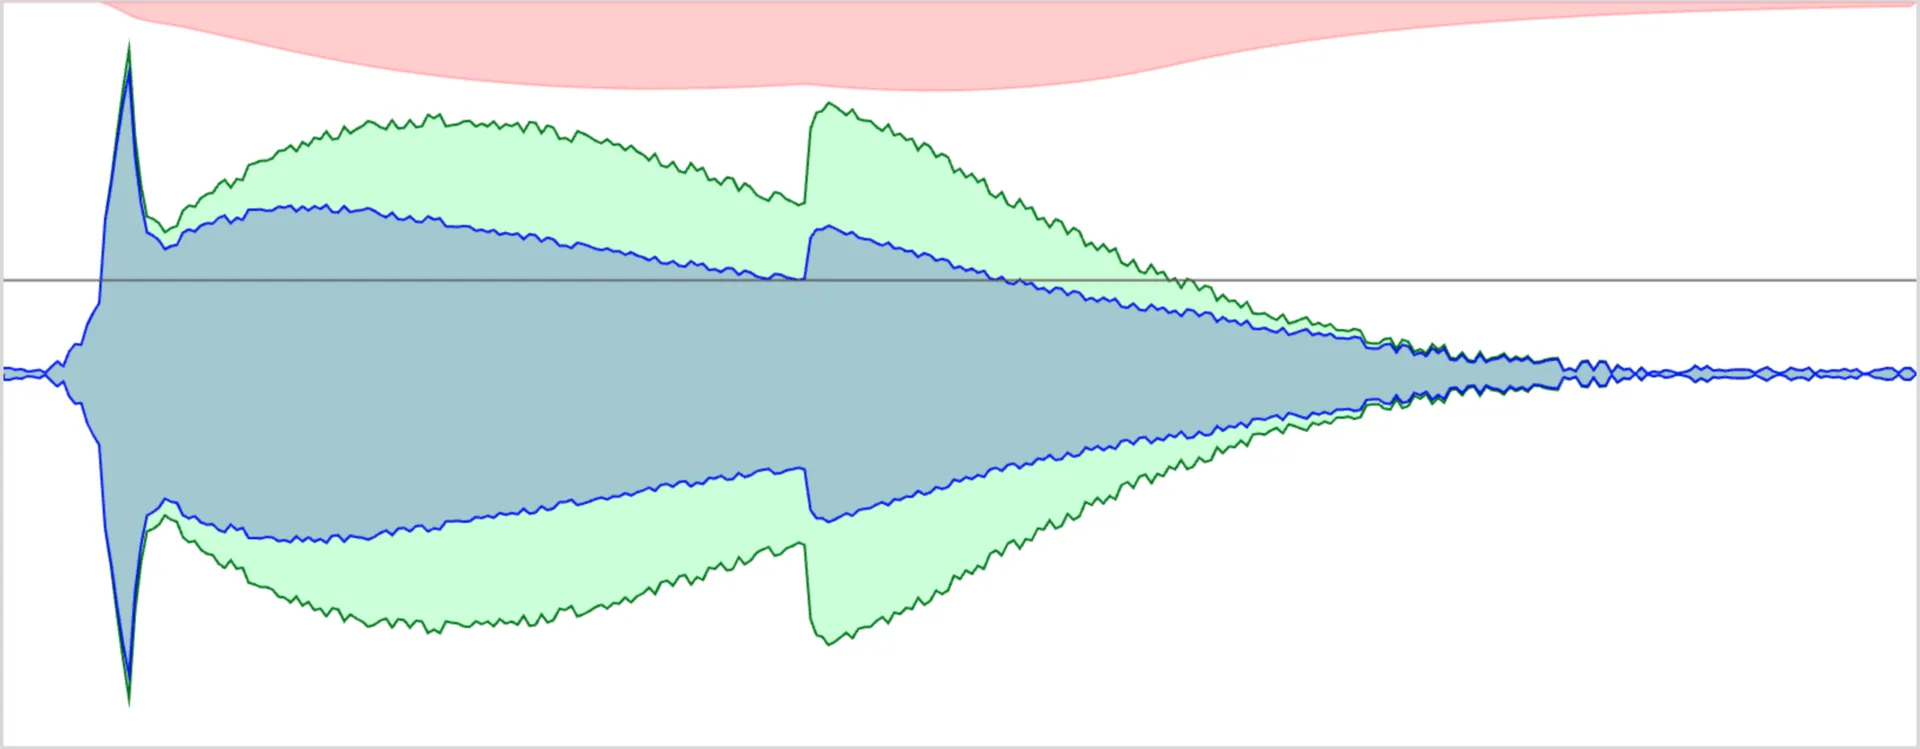
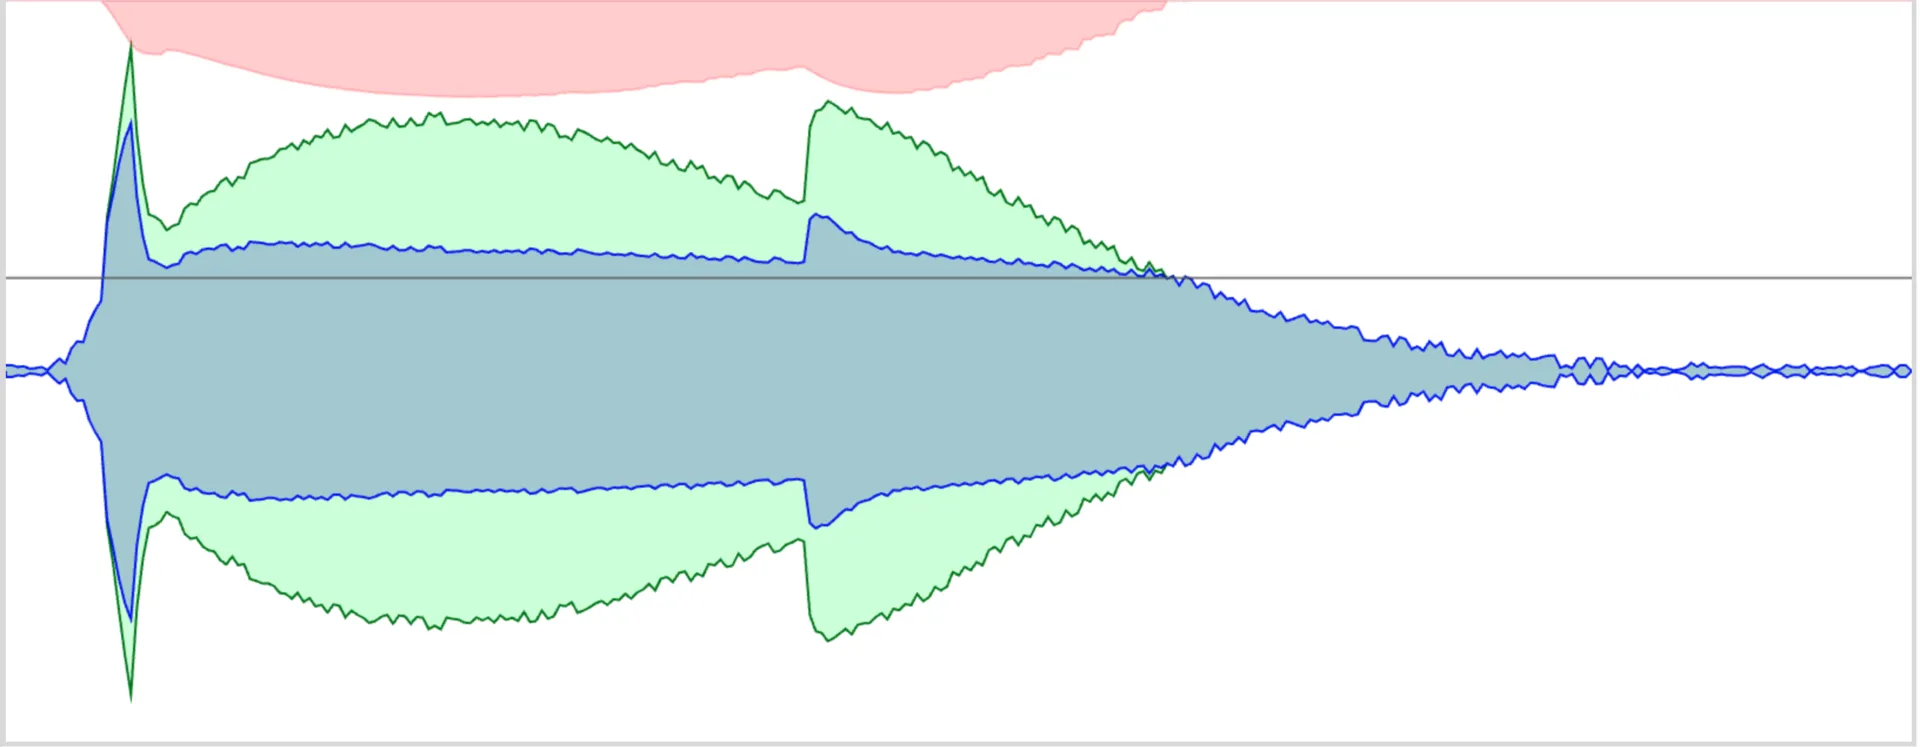
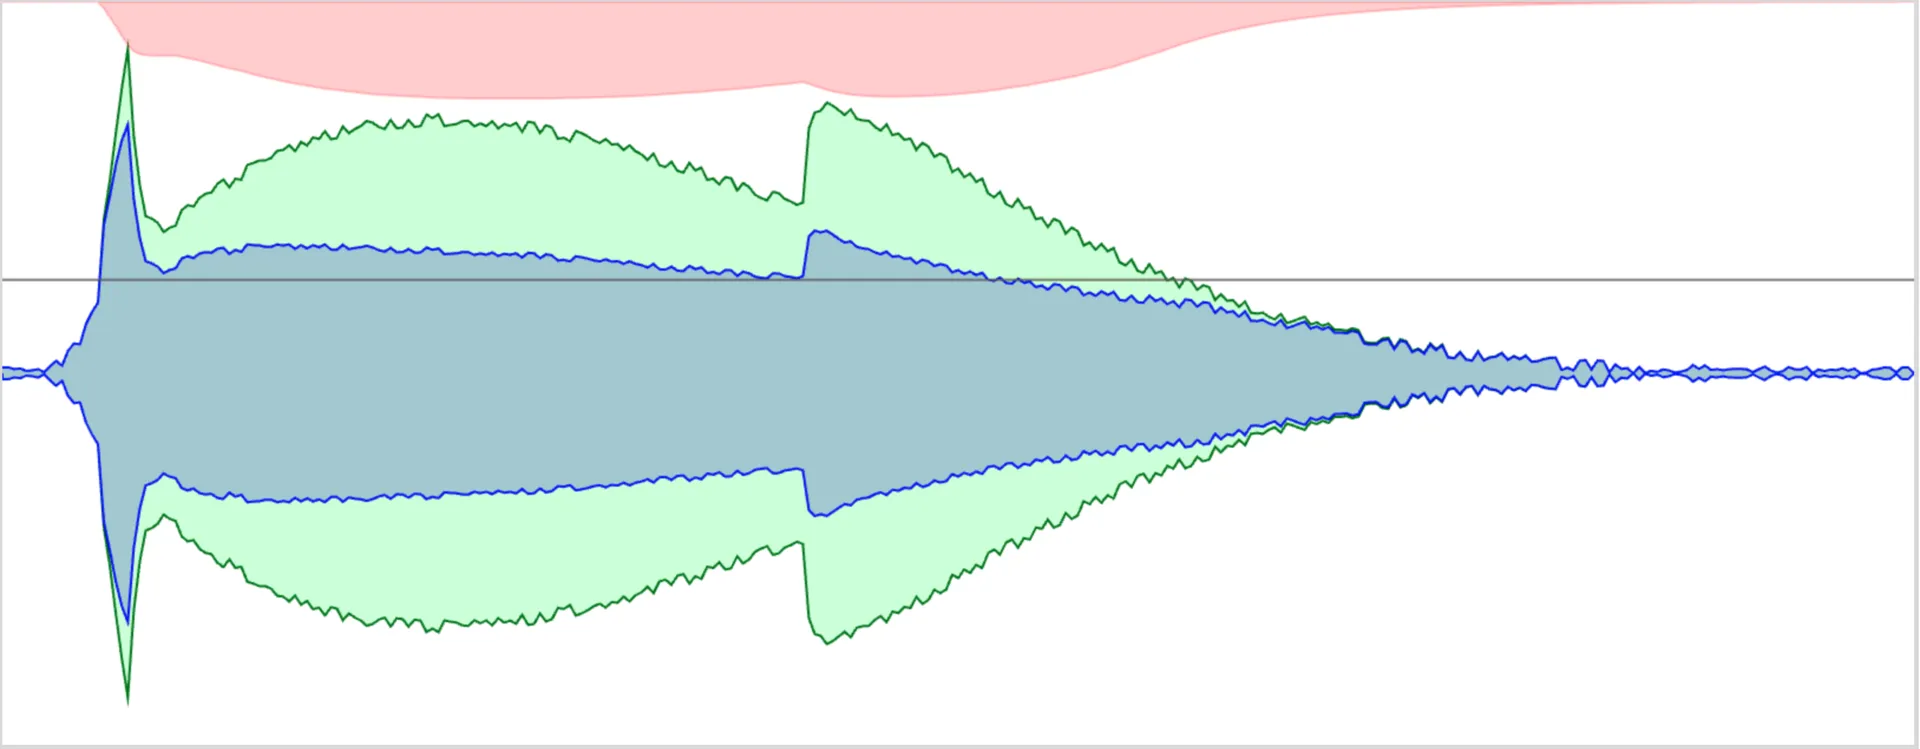
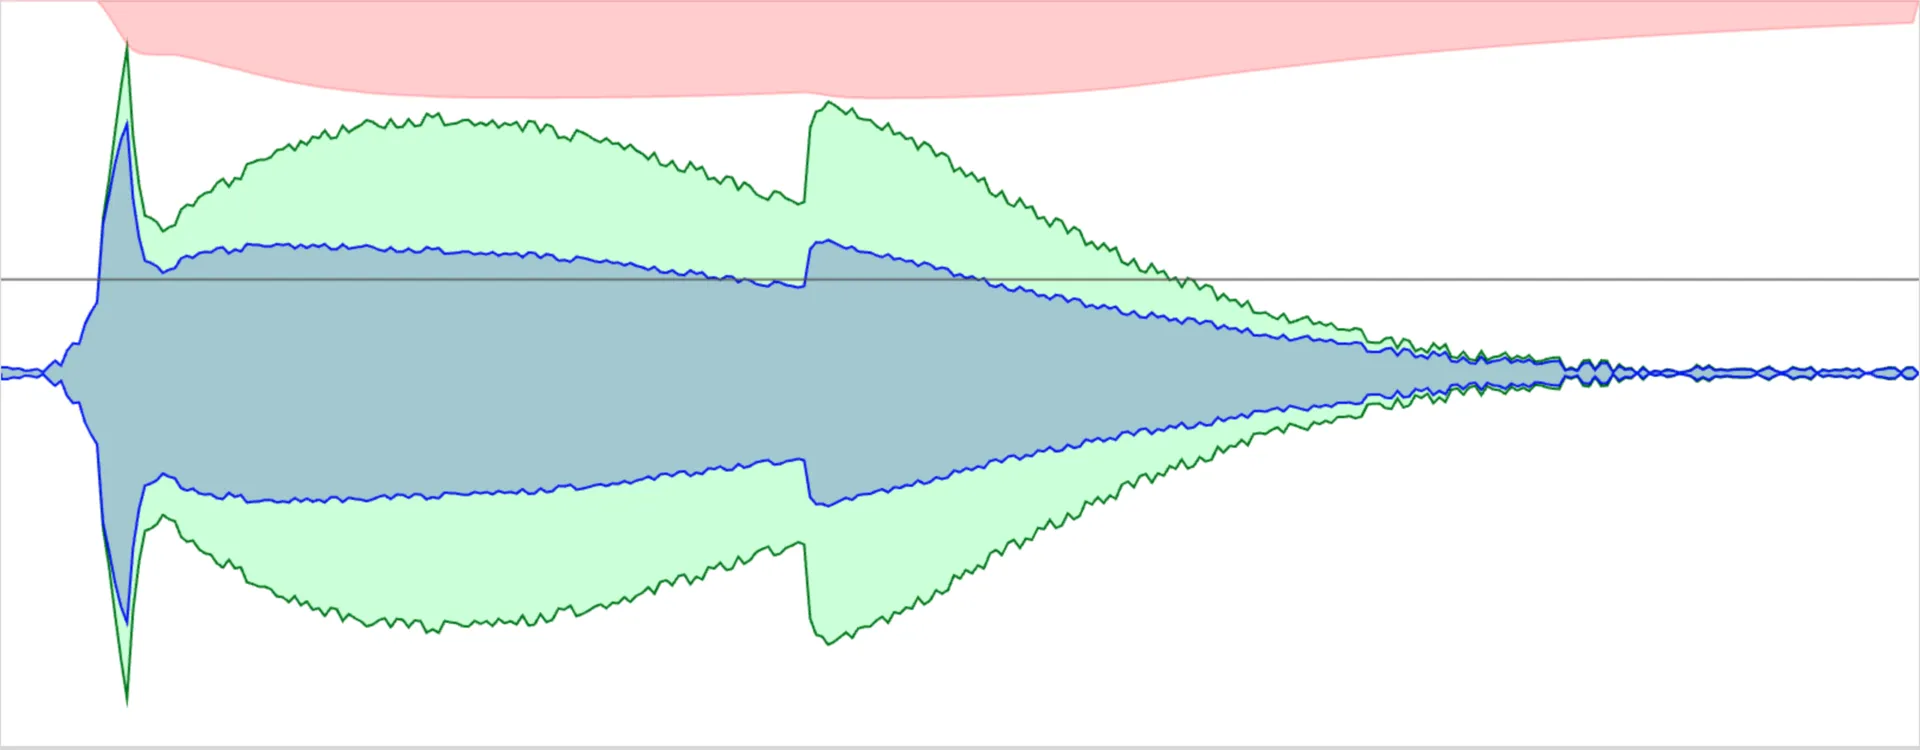
Visualizing Attack & Release Times
Your best bet at learning attack and release are to put in the reps. You need to find the right settings for hundred's of different sounds before truly understanding. Visualizing the compressor attack and release settings is another great way to help further your understanding.
When I first started, I would try different compressor attack and release settings out, then print them to see what was done. Now you can have websites like the one below to help in that process.
To help you visualize these settings, I will show you with this amazing visualizer- https://codepen.io/animalsnacks/pen/VRweeb
I highly suggest messing around in it.
Attack Times
Fast Attack - Use to tame transients
Medium Attack - Use for general dynamic control
Slow Attack - Use to let transients through for a punchy sound
Release Times
Fast Release - Use to Tame Transients
Medium Release - Use for general dynamic control
Slow Release - Use to add sustain
Compressor Attack and Release Settings
I am going to include this section solely for you to have starting points. They are by no means the best compressor attack and release times, as each song and sound is different. You will need to adjust your settings to fit each song and instrument accordingly.
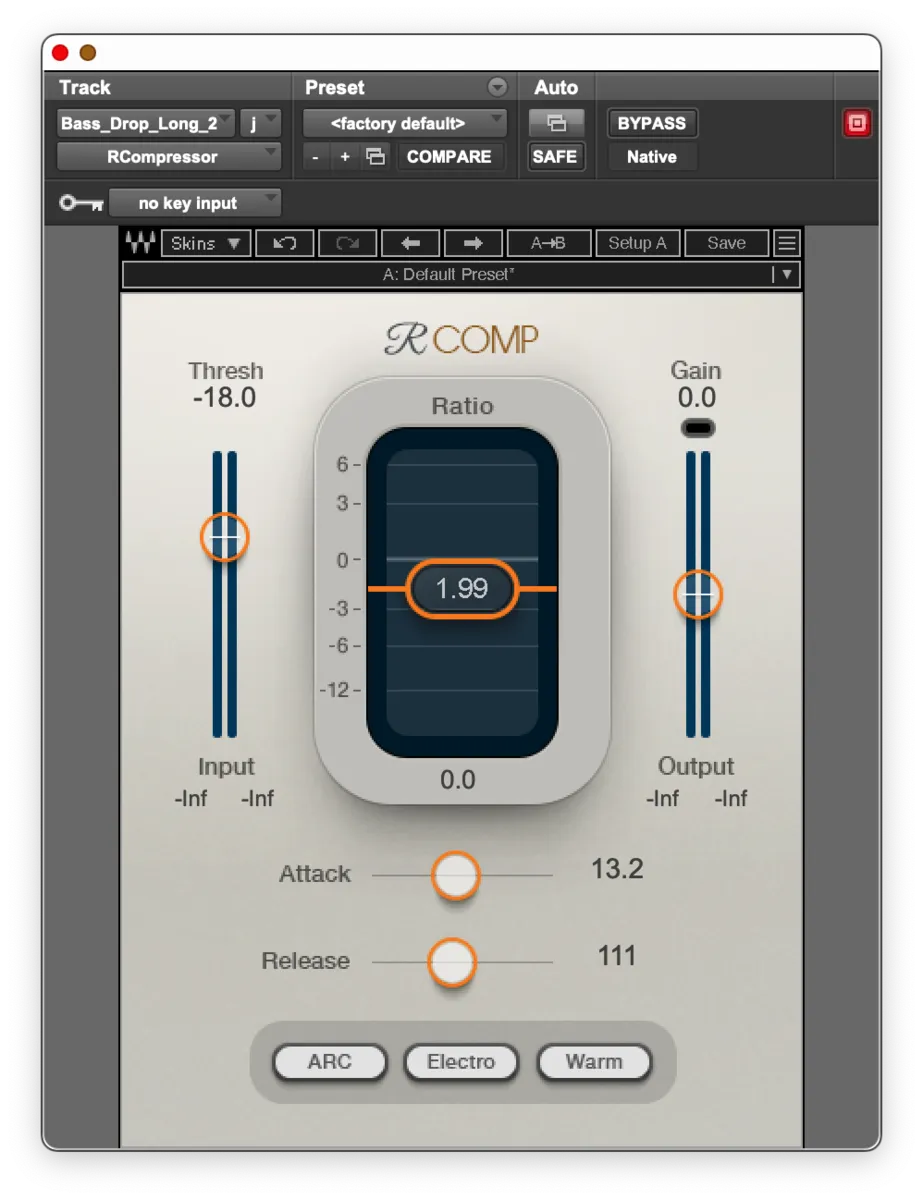
Before starting, remember to always be checking your gain reduction meter for how much gain reduction is happening. Changing your attack and release times will change how much gain reduction is applied with the same threshold and ratio settings.
Vocals
For vocals I choose my settings based on the performance. I usually end up using 2 or more compressors, depending on whats needed.
The first compressor in my chain will usually do the most shaping, while the second compressor will smooth things out.
First Compressor
Legato (smooth) vocals - Medium attack and quick release
Staccato (punchy) vocals - Slow attack and quick release
Second Compressor
I will usually set both attack and release to medium, to help smooth things out.
Drums
For drums I really like to keep transients in mind. Most songs nowadays are built off samples that are already heavily compressed. Due to this I like to use compression as a sound design tool more than to tame the dynamic range.
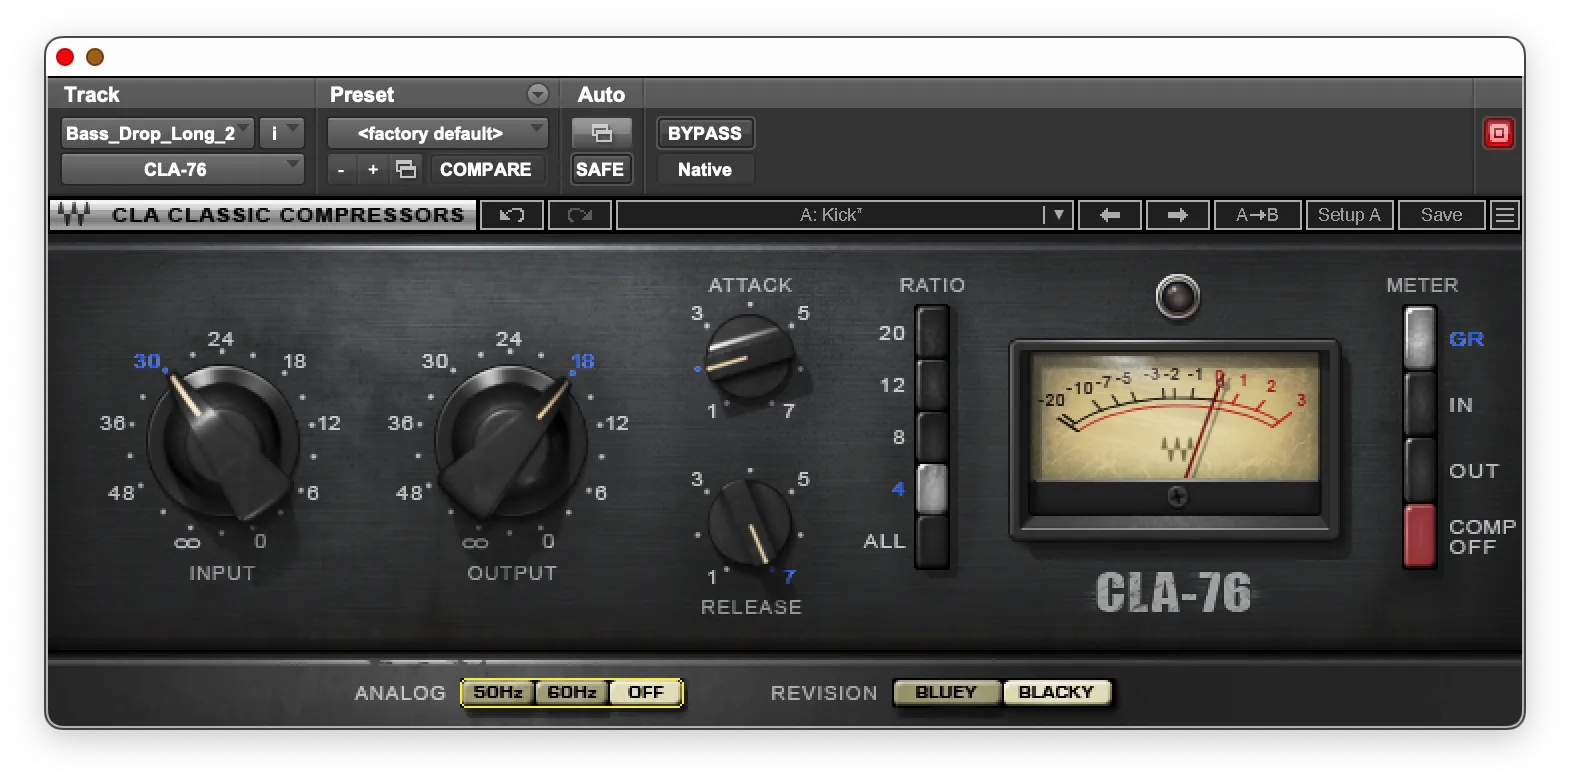
Kick
For kicks I will generally use a slow attack and fast to medium release, depending on the decay or how quick the kick comes back in again.
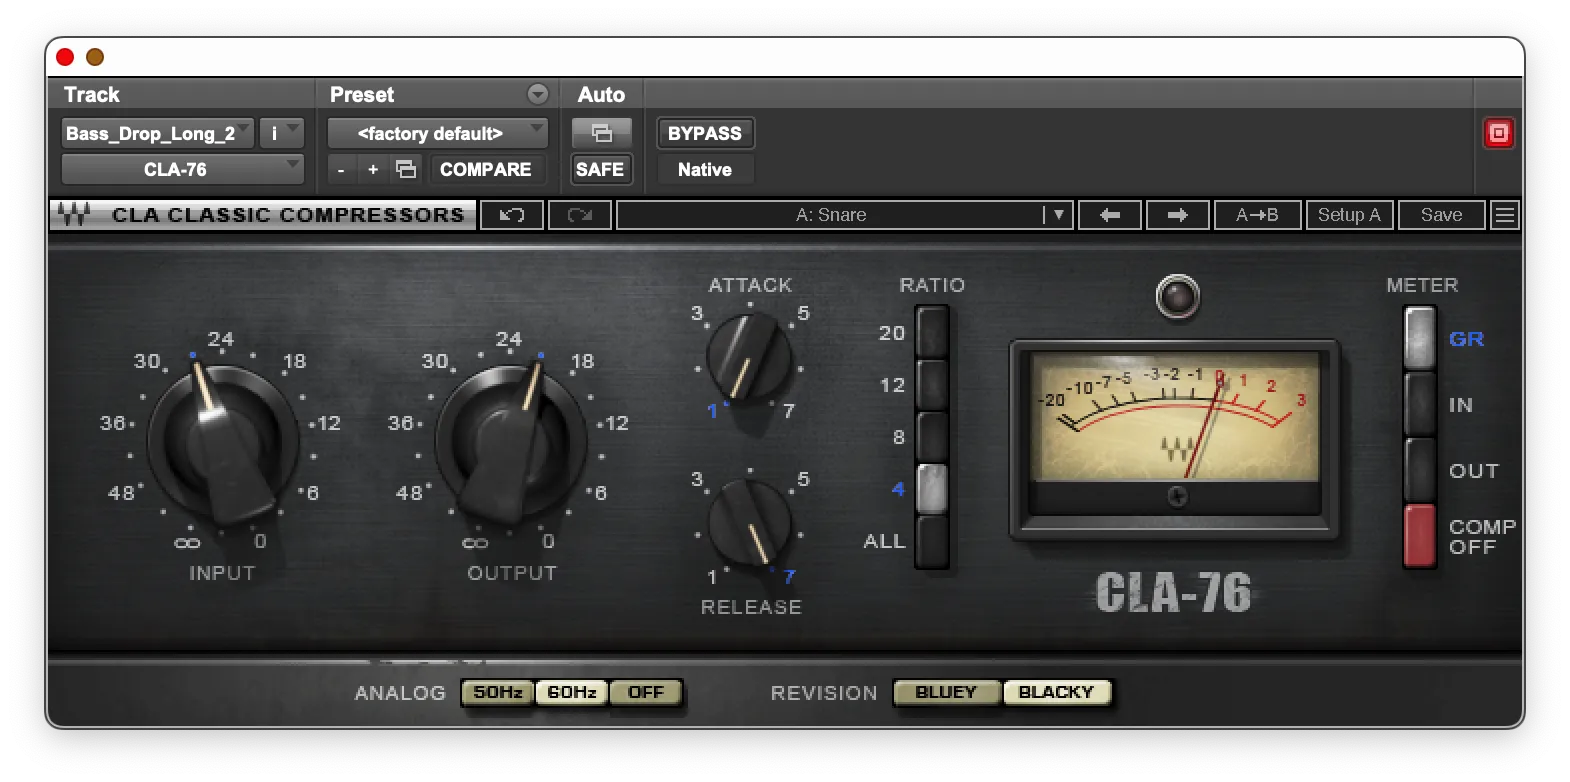
Snare
For a snappy snare sound I like to have a slow attack and quick release. You can make the release slower for a fatter sound.
Guitars
The attack and release settings for guitar really depend on how it is played and which type of guitar.
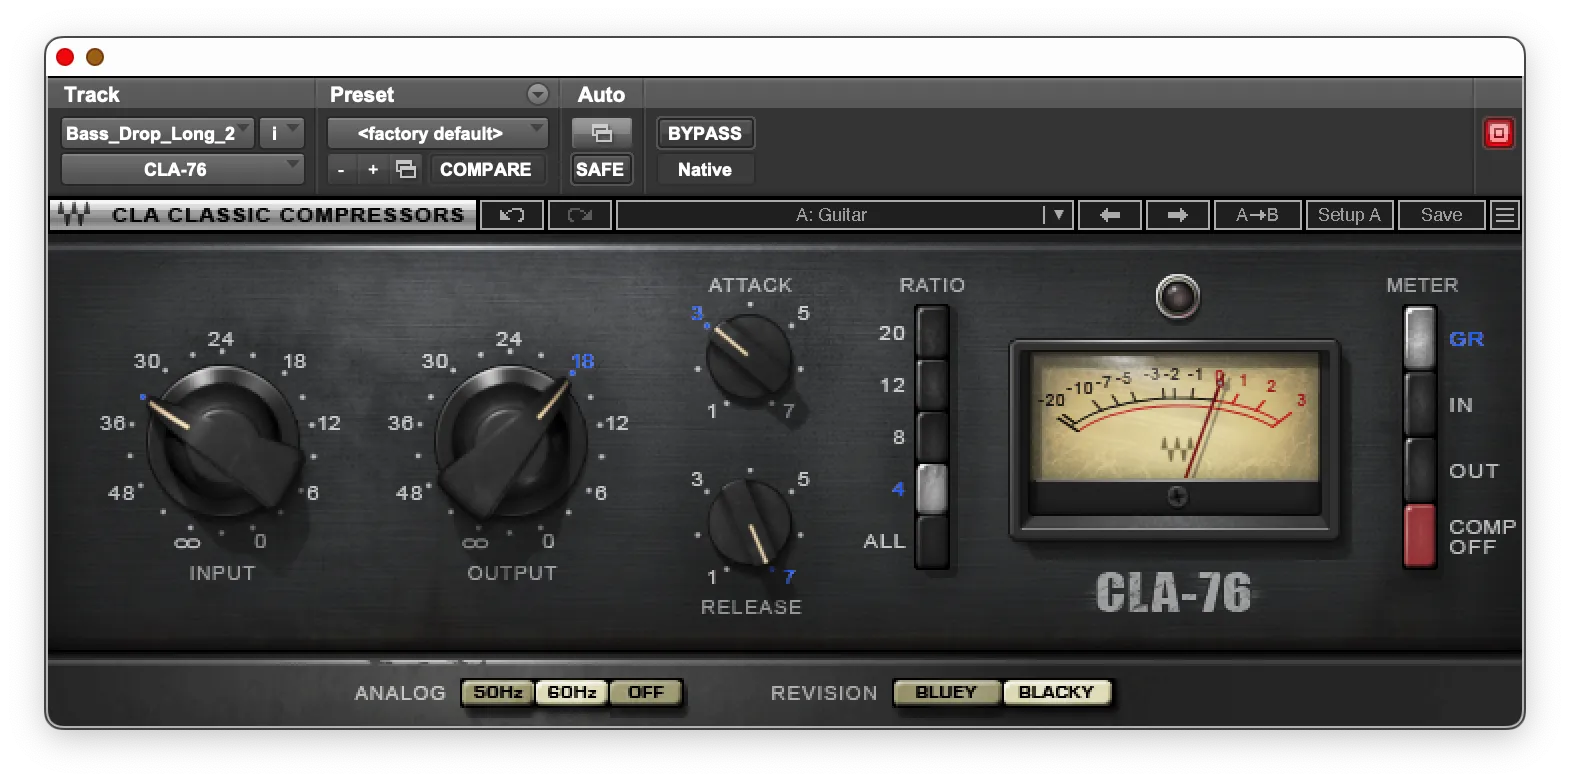
Electric Guitar
For electric guitars I will usually start with a slow to medium attack and quick release.
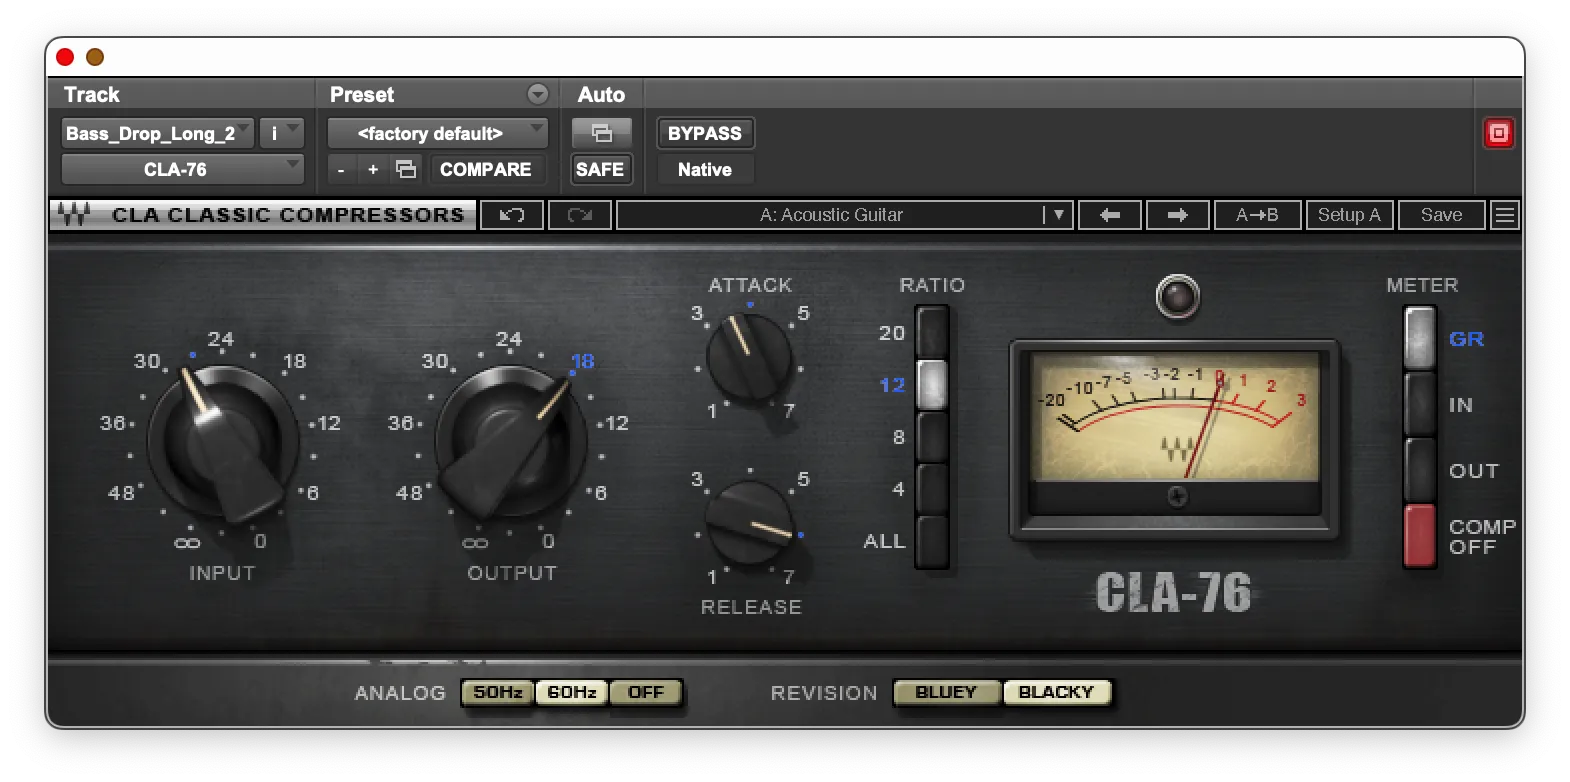
Acoustic Guitar
I usually start with a medium attack and medium release time.
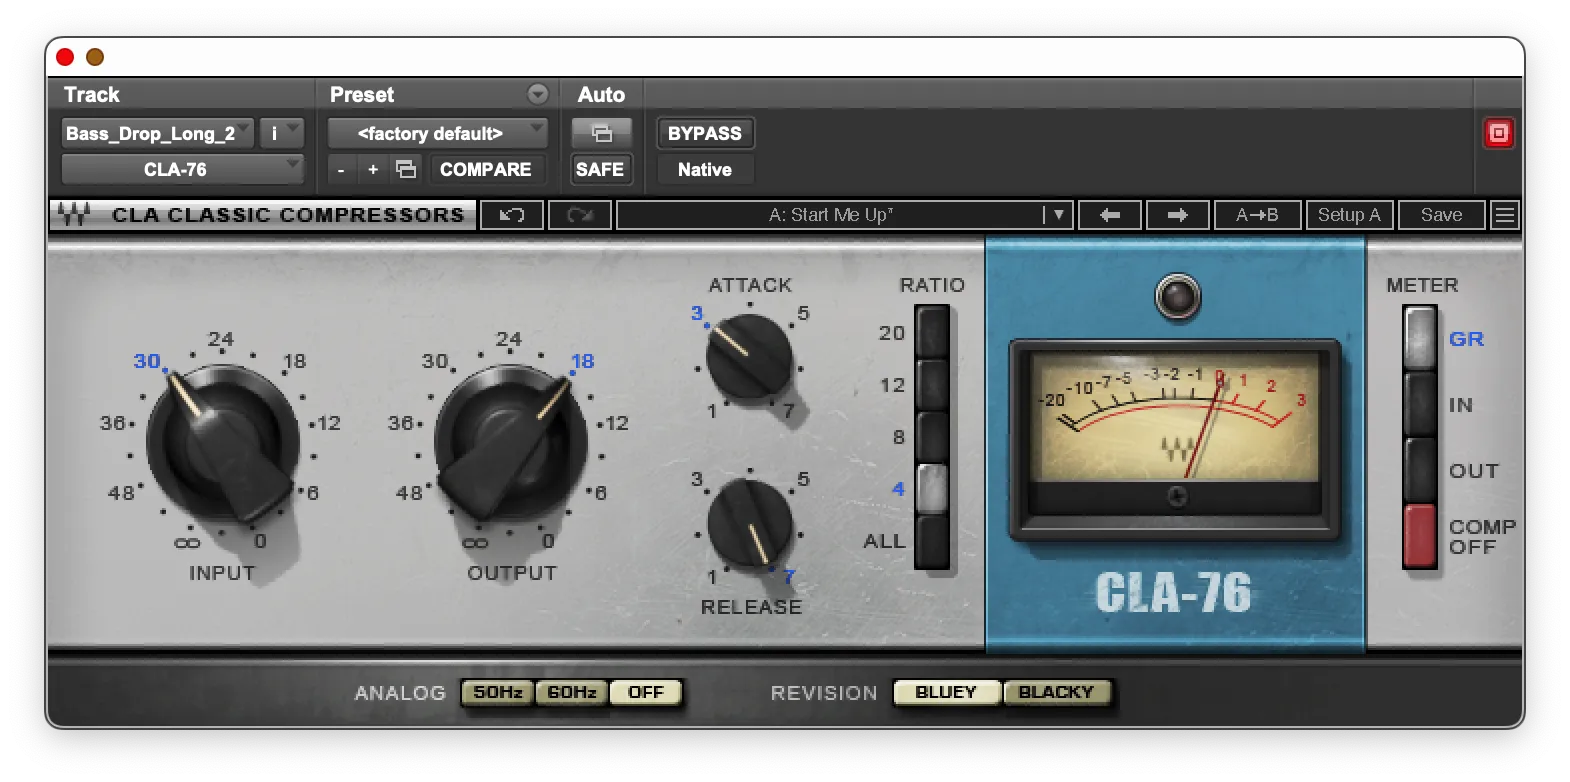
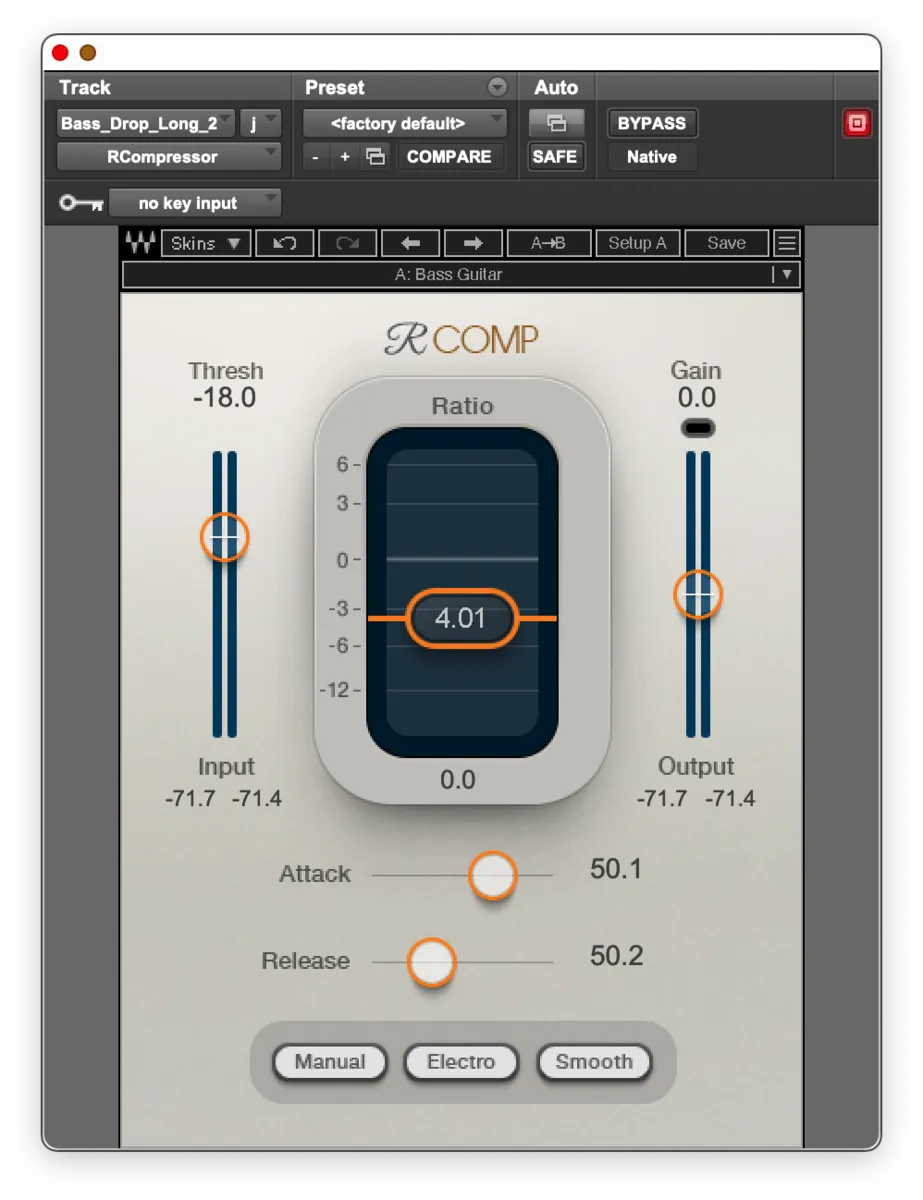
Bass
For bass I like to keep it punchy, so a slow attack and quick release.
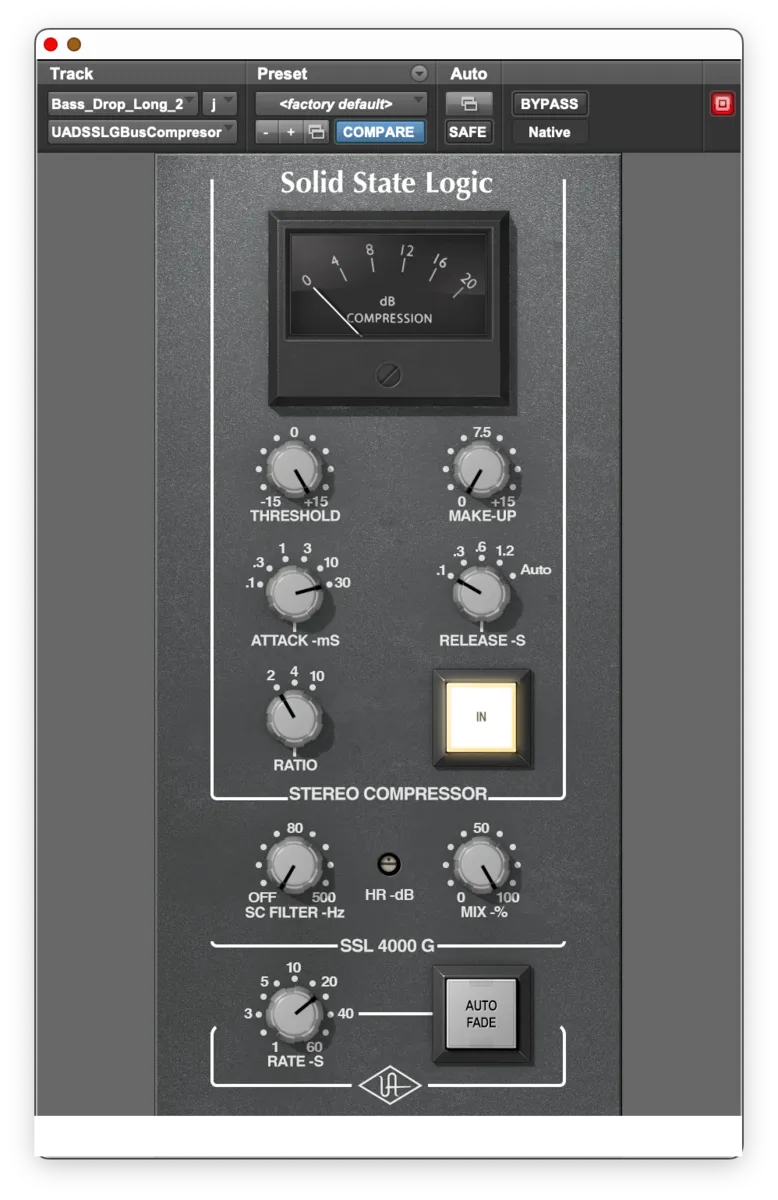
Master Buss
For master busses I will usually want the transients to come through, and want to have minimal pumping. On my masters I will start with a slow to medium attack, and a fast release.
Conclusion
Attack and release times have a huge impact on the sound of your compressor and can mean the difference between transparent compression and an over-compressed mess. By now you should have a solid understanding of how they function and the various sonic results they create.
The most important takeaways are to use fast attack speeds for transient sounds like drums and slow attack speeds for smoother sounds like vocals. Adjust the release time to taste, keeping in mind faster release times sound more natural but slower settings will yield more compression. Start with moderate attack and release times as a starting off point.
If you are looking to learn more about compression, you can check these articles out.
Experiment and let your ears guide you to the best settings. Compression should enhance and control dynamics in a musical way. If it draws too much attention to itself or squashes your sound, rework your attack and release times. With practice dialling in these controls, you'll be able to add compression to your tracks that brings out their unique character. Thanks for reading and remember to trust your ears!